

Introduction to TSA PreCheck Application
Are you tired of long lines and stressful wait times at airport security? The TSA PreCheck Application might be the game-changer you’ve been looking for. Offered as a trusted traveler program, it allows frequent flyers to breeze through airport screenings with less hassle. At Viajante Seguro, we understand how valuable your time is, especially when traveling often. This application opens the door to a streamlined security experience by granting pre-approved passengers access to a dedicated security lane.
But why exactly is the TSA PreCheck Application so important? For starters, it significantly reduces wait times and eliminates the need to remove shoes, laptops, belts, or light jackets during screening. Imagine arriving at the airport and walking through security in just minutes instead of hours — that convenience makes planning trips much less stressful.
Whether you’re a business traveler hopping between meetings or a vacation enthusiast eager to get going, obtaining TSA PreCheck status offers a smoother airport experience. Throughout this guide, you will find detailed steps and helpful tips on how to complete the application process with ease. Ready to unlock faster travel? Let’s dive into what you need to know to get started.
Eligibility Requirements for TSA PreCheck
Wondering if you qualify for the TSA PreCheck Application? Understanding the eligibility criteria before applying can save you time and effort. To begin with, applicants must be U.S. citizens or lawful permanent residents, which is the primary citizenship requirement. Without meeting this condition, you won’t be able to enroll in the program.
Regarding age, there is no strict minimum or maximum; however, applicants under 18 must have a parent or legal guardian complete their application on their behalf. This makes it easier for families to enjoy faster airport screening together. On the other hand, all adult applicants need to pass a background check and provide valid identification during enrollment.
Certain factors might disqualify you from obtaining TSA PreCheck eligibility. For instance, a recent criminal conviction, unresolved legal matters, or suspicions related to security concerns could result in denial. Also, applicants who have previously had their TSA PreCheck status revoked may find it challenging to reapply successfully.
So, how can you verify your eligibility beforehand? The Transportation Security Administration (TSA) offers an official online eligibility tool where you can check your status. It’s a simple way to confirm whether you meet the basic requirements before starting the TSA PreCheck Application process.
Taking a moment to review these criteria ensures you’re well-prepared and can avoid surprises. Ready to see if you qualify? Checking these points will help you move forward with confidence and streamline your future travels.
Documents Needed for Your TSA PreCheck Application
Before starting your TSA PreCheck Application, gathering the correct documents can make the process much smoother. Have you ever experienced delays because a vital form of ID was missing or expired? Avoid that hassle by preparing everything in advance.
Primarily, you’ll need to present valid identification. This typically includes one of the following:
- U.S. passport (book or card)
- Driver’s license issued by your state’s Department of Motor Vehicles
- Permanent resident card (Green Card)
- Other government-issued photo ID (such as a state ID card)
In addition, providing documentation that supports your identity and residency status can be beneficial. While not always mandatory, offering proof of address like utility bills or lease agreements may help verify your information more efficiently during your enrollment appointment.
One key point is ensuring all your documents are current and valid. Expired IDs can delay or even disqualify your application. Double-check expiration dates and renew any documents if needed before applying. This attention to detail will save you time and unnecessary trips to the enrollment center.
Ready to get your paperwork in order? It’s also a good idea to bring social security numbers or other personal information that might be requested, so you can breeze through the TSA PreCheck Application without unexpected hitches. Being well-prepared is half the battle won!

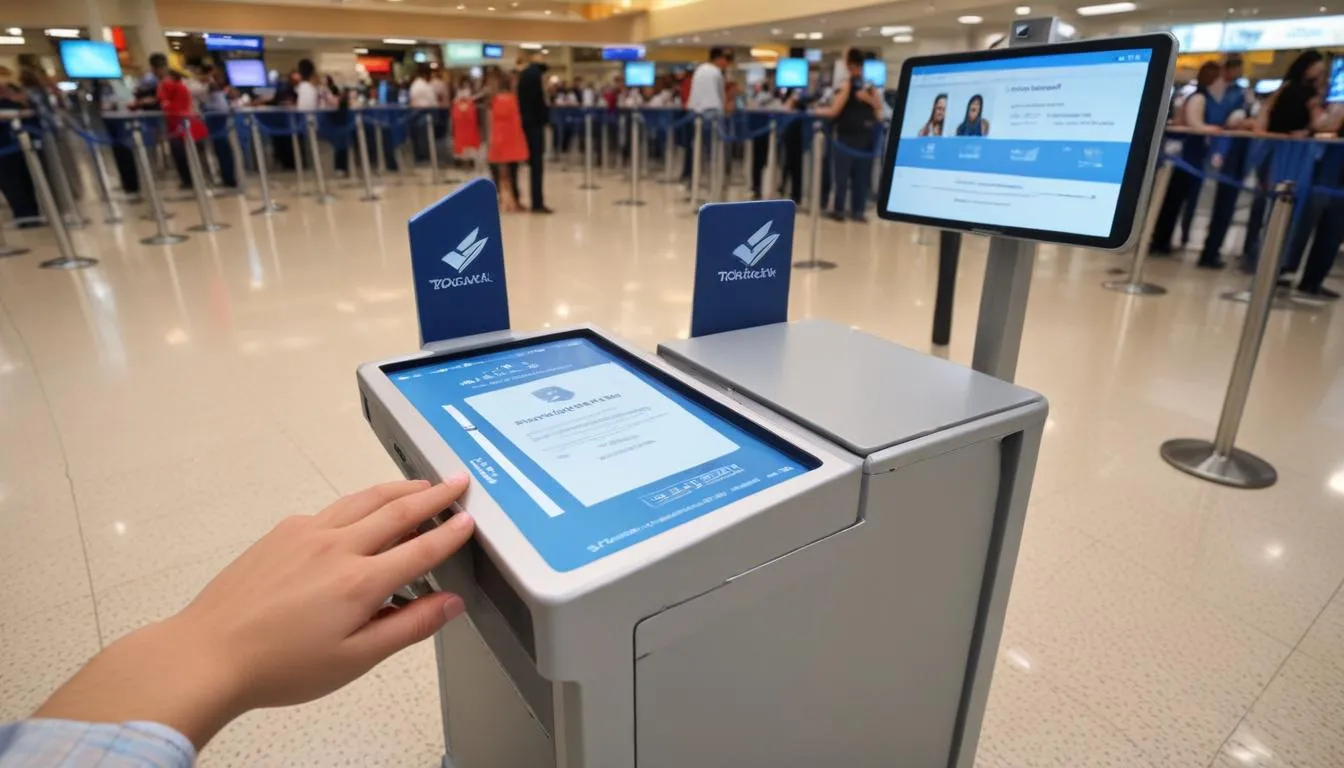
Step-by-Step TSA PreCheck Application Process
Wondering how to complete your TSA PreCheck Application without confusion? The online process is straightforward once you know the steps. Let’s walk through each stage together so you can breeze through the application with confidence.
1. Create Your Online Account
First things first: visit the official TSA enrollment website and register a new account. You’ll need to provide a valid email address and create a strong password. Once registered, verify your email to unlock access. This step sets the foundation for your entire application.
2. Fill in Personal Information
Next, complete the personal details section. Be prepared to enter your full name, date of birth, contact information, and citizenship status. Accuracy is key here—mistakes can cause delays or require corrections later. Keep your documents handy to double-check details as you go.
3. Answer Background Questions
The application will ask several simple background questions related to your eligibility. These usually cover criminal history and travel records. Answer honestly and thoroughly, since this information helps determine your qualification for expedited screening.
4. Choose Your Enrollment Center and Appointment
After submitting the online information, you’ll select a nearby enrollment center for an in-person appointment. Scheduling your visit early is a smart move, as slots fill up quickly. Most locations allow you to choose a convenient date and time directly through the website.
5. Review and Submit Your Application
Before hitting submit, take a moment to carefully review all entered information. Check names, dates, and other critical details to avoid errors. When you’re confident everything is accurate, submit the application. You will receive confirmation and instructions for your appointment.
Following these clear steps helps you complete the TSA PreCheck Application hassle-free, getting you closer to faster, easier airport security. Ready to get started? Keep these tips in mind and enjoy the smoother journey ahead!
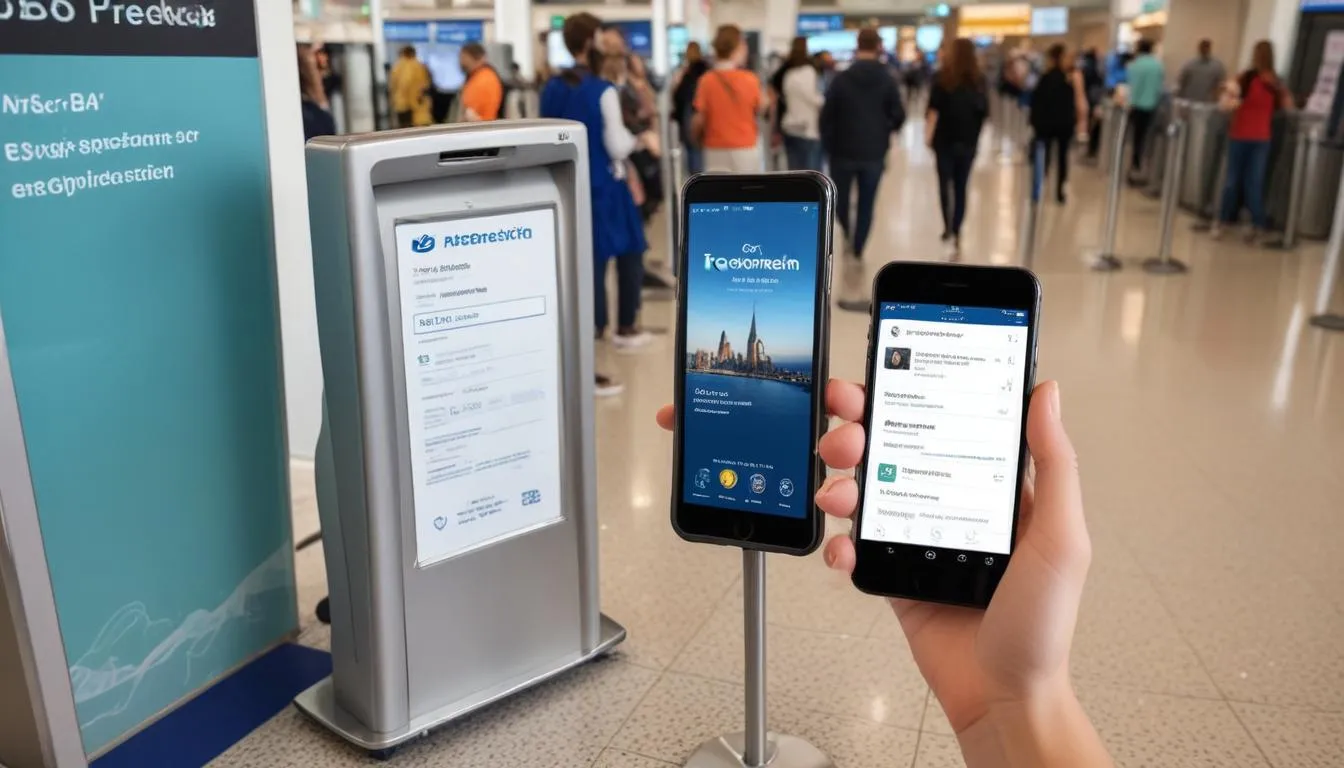
Scheduling and Attending the TSA PreCheck Interview
After submitting your TSA PreCheck Application, the next step is to schedule your in-person interview at an enrollment center. Typically, the official website allows you to browse available locations nearby and choose a date and time that fits your schedule. Keep in mind that appointment slots can fill up quickly, so it’s best to book as soon as possible to secure your preferred timing.
When the day arrives, you’ll want to arrive a few minutes early. During the interview, a representative will verify your identity, review your application, and take fingerprints. The process is straightforward and usually takes less than 30 minutes. This face-to-face meeting is a crucial part of the TSA PreCheck Application, ensuring all your information is accurate and your background check can proceed.
Be sure to bring the required documents to avoid delays. Generally, these include:
- Valid government-issued photo ID (such as a passport or driver’s license)
- Proof of citizenship or lawful permanent residency (e.g., birth certificate, passport, or green card)
- Any additional documents requested during your application submission
Preparation is key. Double-check that your documents are current and undamaged. Dress comfortably but presentably, and bring any confirmation emails or appointment details with you. Staying calm and clear during the interview goes a long way toward a smooth experience.
One final tip: if you need to reschedule or cancel, use the official enrollment system promptly to avoid penalties. With the interview complete, you’ll be one step closer to enjoying expedited airport security checks!
Understanding the TSA PreCheck Fee
Wondering how much the TSA PreCheck Application costs? As of now, the standard non-refundable application fee is $85. This one-time expense covers your background check and enrollment processing, and it remains valid for five years. Knowing this upfront can help you plan your budget accordingly.
When it comes to payment, you’ll find various options accepted at the time of application. Most enrollment centers and online platforms accept major credit and debit cards, such as Visa, MasterCard, American Express, and Discover. Some locations also accept money orders or company checks, but it’s wise to double-check payment methods available nearby before heading to your appointment.
It’s important to note that this fee is generally non-refundable, even if your application is denied or if you decide to withdraw. This policy underscores the importance of filling out your application carefully to avoid unnecessary expenses.
Are there any ways to save? Actually, certain credit cards offer statement credits or reimbursements for trusted traveler programs, including TSA PreCheck. Additionally, some frequent flyer loyalty programs provide perks or partial reimbursements for enrollment fees. It’s worth exploring these benefits if you travel often, as they can significantly offset the initial cost.
| Aspect | Details |
|---|---|
| Fee Amount | $85 (valid for 5 years) |
| Payment Methods | Major credit/debit cards, money order, company check (varies by location) |
| Refund Policy | Non-refundable |
| Discounts/Reimbursements | Some credit cards & frequent traveler programs offer partial reimbursements |
To sum up, while the TSA PreCheck Application fee is a relatively small investment for enhanced airport convenience, checking for any available reimbursements could save you money. Have you checked if your credit card offers such perks yet?
After the TSA PreCheck Approval: What Comes Next?
After you’re approved for TSA PreCheck, you’ll receive a Known Traveler Number (KTN), which is your key to faster security screenings. Typically, the KTN arrives by mail within 7 to 10 business days following your successful enrollment. Keep an eye out for this important number because you’ll need it every time you book a flight to enjoy the TSA PreCheck benefits.
When making airline reservations, be sure to enter your KTN in the “Known Traveler Number” or “TSA PreCheck” field within your passenger profile or flight details. This simple step activates your expedited screening privileges at participating airports. Also, double-check that your name on the booking matches exactly with the one on your TSA PreCheck enrollment to avoid any issues.
Your TSA PreCheck status is valid for five years from your enrollment date. Before it expires, you’ll want to renew to maintain hassle-free airport experiences. Renewal can usually be completed online, making the process quick and convenient.
What if Your Application Is Denied?
If you don’t get approved, don’t worry just yet. You will receive a notification explaining the reasons for the denial. In many cases, there is an option to appeal or request reconsideration by submitting additional documents or clarifications. The appeals process can help resolve misunderstandings or correct errors in your application.
- Review the denial letter carefully to understand the specific reasons.
- Gather any supporting documents that clarify your case.
- Follow the provided instructions to submit an appeal or request reconsideration.
- Contact the trusted traveler program’s customer service if you need guidance during the process.
Knowing these next steps after your TSA PreCheck Application is approved will ensure you make the most of your travel convenience. Have you received your KTN yet? Make sure to use it every time you book flights and keep track of your status validity to avoid surprises.
Tips for a Smooth TSA PreCheck Application Process
Applying for TSA PreCheck doesn’t have to be stressful. To ensure your application moves forward without delays, it’s crucial to pay attention to every detail along the way. Have you checked your personal information thoroughly? Mistakes in names, birthdates, or documents can cause unnecessary setbacks. Take a moment to review all entries carefully before submitting.
When preparing for the in-person interview, organization is key. Bring all required identification documents, such as a valid passport or driver’s license, and any additional paperwork related to your travel history if asked. Interviews typically run smoothly if you arrive on time and remain clear and honest with the interviewer.
Many applicants struggle due to avoidable errors like inconsistencies between application data and ID documents or missing appointments. To help you stay on track, here are some of the best practices:
- Double-check spelling and numbers: Your application details should exactly match your official IDs.
- Prepare your required documents: Have originals ready and consider keeping copies for yourself.
- Arrive early for your interview: This helps reduce stress and allows time for unforeseen delays.
- Be honest: Transparency speeds up the background check and approval process.
- Avoid overbooking appointment slots: Give yourself enough time to gather all necessary materials beforehand.
By following these steps, you’ll increase the chances of a quick and successful TSA PreCheck application. Remember, being detail-oriented and well-prepared always pays off. Ready to get started with confidence?
Conclusion and Final Thoughts
Completing the TSA PreCheck application unlocks a world of convenience for frequent and occasional travelers alike. Imagine breezing through airport security without removing shoes, laptops, or belts — this alone makes the entire travel experience significantly smoother. Not to mention, the time saved at checkpoints allows for stress-free arrivals at your gate, enabling you to focus on what really matters: your journey ahead.
Moreover, being a TSA PreCheck member means skipping long lines during busy travel seasons, which often translates to fewer headaches and more reliable schedules. Considering how hectic airports can get, having this trusted traveler status enhances your overall peace of mind, allowing you to enjoy the airport environment rather than rushing through it.
Still wondering if it’s worth it? The low application fee paired with benefits lasting five years makes this a wise investment for anyone who flies regularly or values simpler airport procedures.
In summary, the TSA PreCheck application process is straightforward, and the payoff is substantial. By taking a little time now to apply correctly and prepare your documents, you are ensuring faster lines, increased comfort, and more confident travel experiences in the future.
So, why wait? Our team encourages you to take the first step today and enjoy the advantages of TSA PreCheck membership. With increased convenience and less hassle, you’ll wonder how you ever traveled without it!

